
Slide 1 · Open the site
Clearwater
3D water, generated as a scene you can open in the browser.
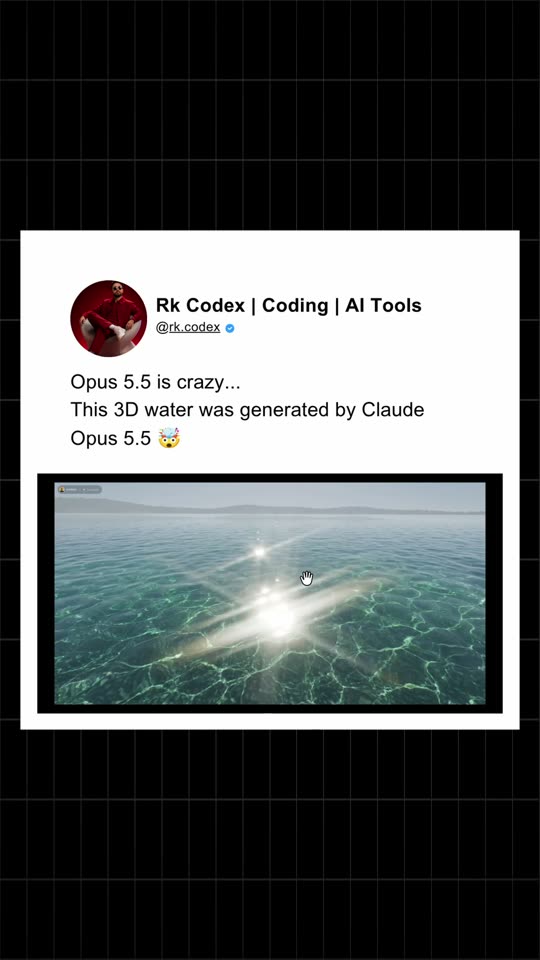
From the reel · Opus 5.5
Match the picture, then open the site or copy the prompt exactly as it was used.
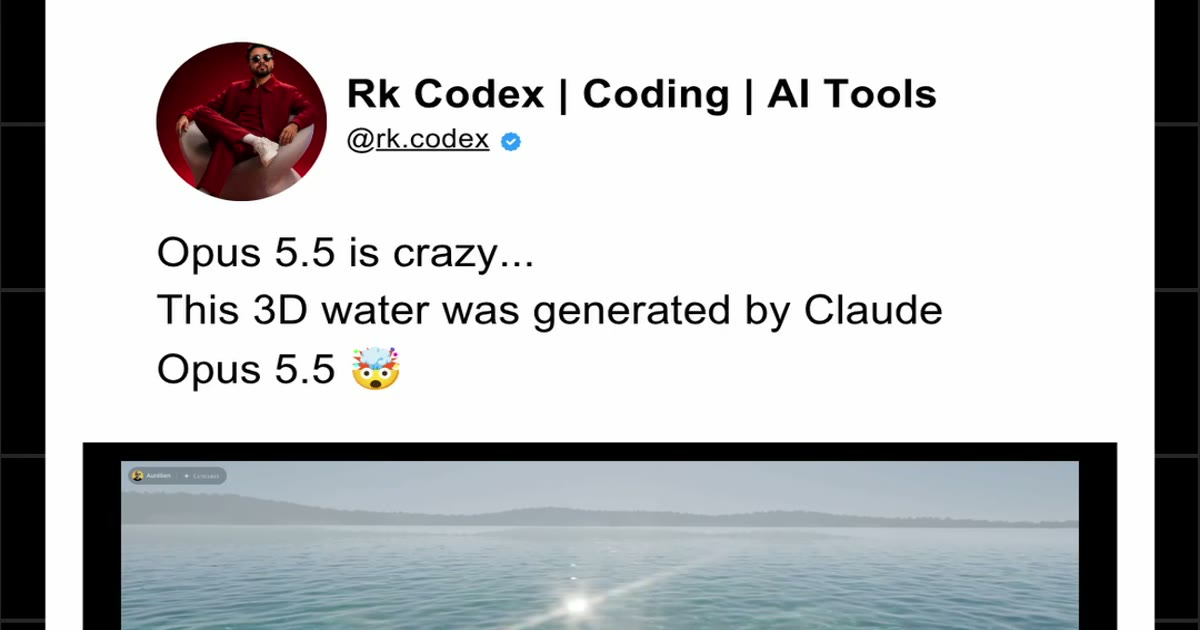
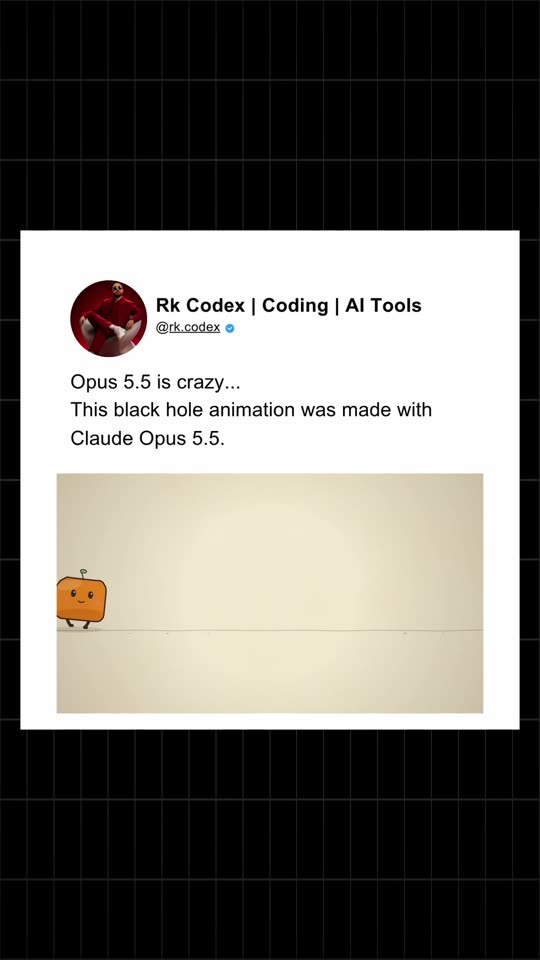
Slide 1 · Open the site
3D water, generated as a scene you can open in the browser.
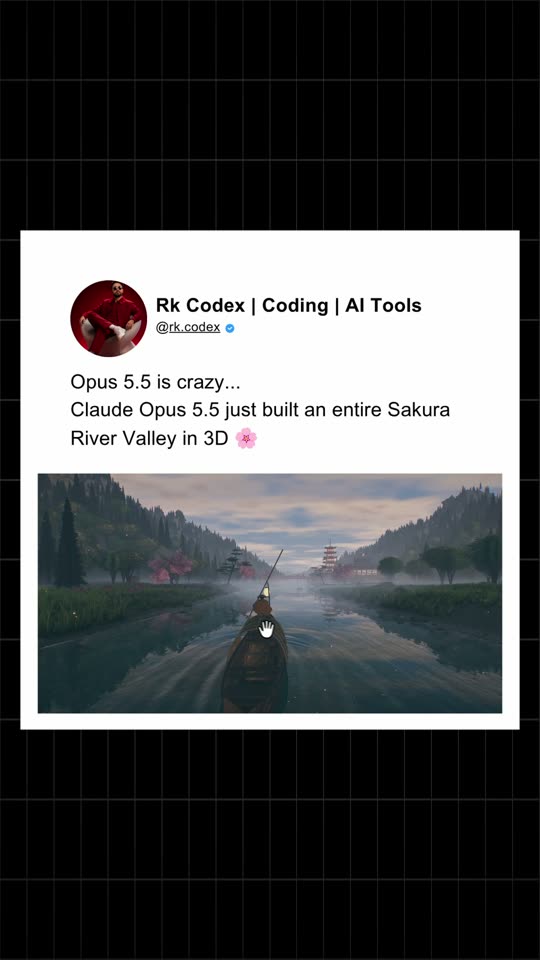
Slide 2 · Open the site
A 3D river valley you move through from the boat.
Slide 3 · Copy the prompt
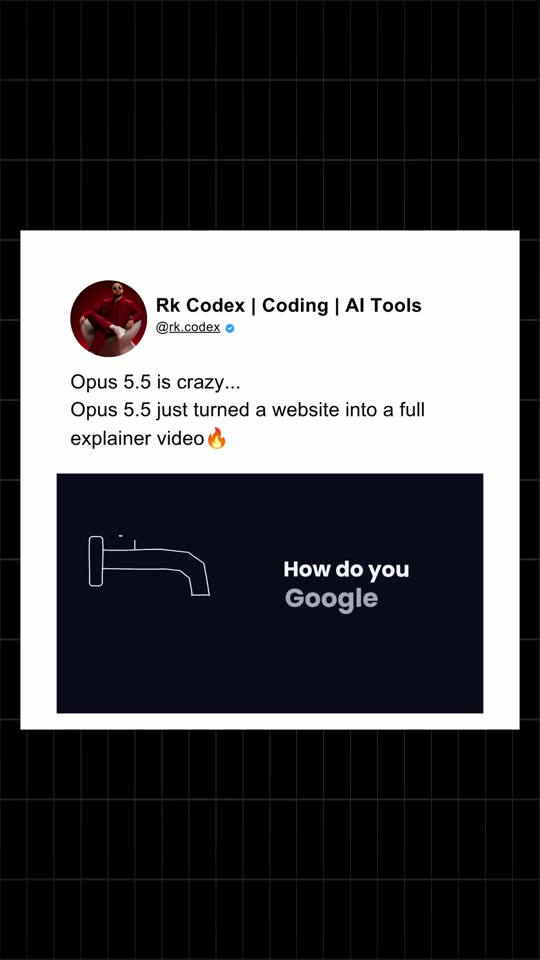
Hand-drawn launch film with Clawd as the character. One prompt, then an MP4.
I want you to create an "Introducing Opus 5.5" launch video in hand drawn canvas animation style. You must use the clawd 8bit character as the main character representing Claude. The character will have adventures, fast cuts, zooms, animaations going all out in the hand drawn style. But WOW the audience and research Opus 5.5 for building and non dev work to include as stats in this video. Make it unconventional showing the true power of you Opus 5.5. Use the Anthropic Claude font, make it almost Anthropic branding. Use the real Claude logo and play off that with the Clawd. Get the right assets, plan it out, draft and render to give me an MP4. No skills, No MCP.

16:9 at high res
30 seconds max
Aim to reduce file size limit
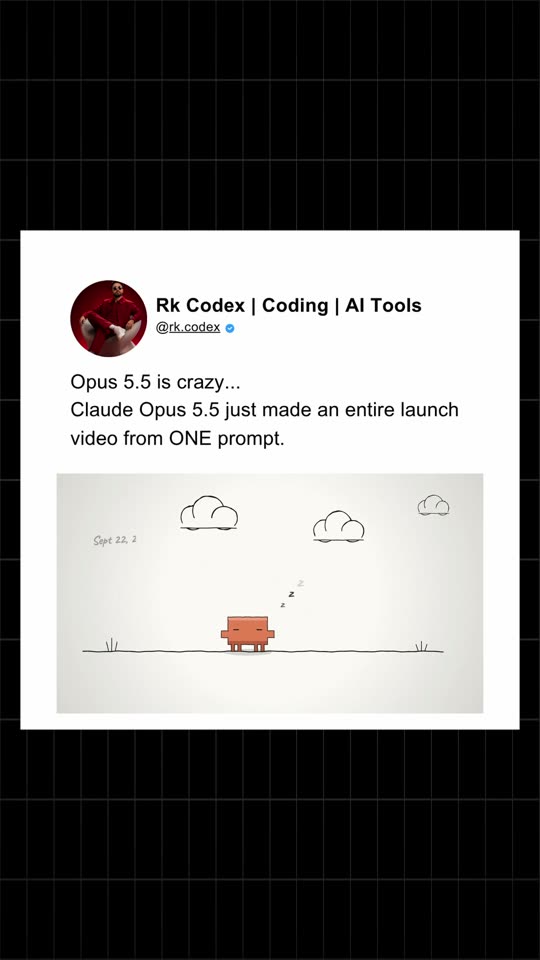
Slide 4 · Copy the prompt
A 25–30 second canvas film. The orange creature becomes neurons, a prism, a sunflower, a galaxy, a black hole, then Earth.
You are Claude Opus 5.5 acting as a senior creative coder, motion designer, and frontend animation engineer.

Your task is to recreate the visual language, pacing, transformation logic, and overall feeling of the reference video I provided.

The goal is NOT to make a normal website.

The goal is to build a fully procedural, cinematic, automatically-playing animated short using code.

The final result should feel like a polished hand-crafted motion design piece rather than a collection of web components.

---

1. Project Goal

Build a 25–30 second procedural animated film inspired by the reference video.

The animation should move through multiple visual ideas:

cute character
→ neural / electrical structures
→ prism and rainbow
→ geometric color forms
→ sunflower
→ galaxy
→ black hole
→ cosmic tunnel
→ Earth rise
→ return to character

The most important requirement:

DO NOT make these feel like separate slides.

Every scene should visually transform into the next.

Use:

- morphing
- particle transitions
- scale transitions
- camera pushes
- radial transitions
- dissolves
- object-to-object transformations
- color continuity
- motion continuity

The entire animation should feel like one continuous thought.

---

2. Technical Stack

Use:

- Vite
- TypeScript
- HTML Canvas 2D
- requestAnimationFrame
- deterministic timeline system
- procedural graphics
- reusable scene modules

Three.js may be introduced ONLY if genuinely useful for:

- galaxy
- black hole
- Earth
- camera depth

Do not introduce heavy dependencies unnecessarily.

Avoid React unless there is a clear reason.

This is an animation project, not a UI application.

---

3. Canvas Settings

Design resolution:

1920 × 1080

Aspect ratio:

16:9

Target framerate:

30 FPS

The animation must scale responsively while maintaining the 16:9 design coordinate system.

Use devicePixelRatio correctly so the animation remains sharp on high-DPI screens.

---

4. Visual Style

The reference has an illustrated educational animation feeling.

Target visual characteristics:

- hand-drawn feeling
- slightly imperfect shapes
- subtle line wobble
- soft texture
- organic geometry
- playful but sophisticated
- clean compositions
- strong silhouettes
- limited but expressive color palette

Avoid:

- generic SaaS illustrations
- flat corporate icons
- excessive UI elements
- photorealism
- cyberpunk aesthetics
- excessive neon
- generic AI-generated gradients
- stock-looking assets

---

5. Color Direction

Primary background:

warm cream / off-white

Example:

#F2E8CF

Dark cosmic scenes:

deep navy
dark purple
near-black blue

Accents:

orange
sunflower yellow
violet
cyan
magenta
soft red

Use gradients sparingly and deliberately.

Colors should transition between scenes rather than suddenly changing.

---

6. Texture

Create subtle procedural paper texture.

Possible implementation:

- low-opacity random noise
- slightly uneven background luminance
- subtle grain overlay

Texture should be visible but never distracting.

Do NOT use a giant photographic paper texture asset.

Generate the texture procedurally if possible.

---

7. Animation Timeline

Build a central timeline.

Example:

0.0s – 4.0s
Creature Introduction

4.0s – 7.5s
Neural / Electrical Network

7.5s – 10.0s
Prism / Light Dispersion

10.0s – 13.5s
Color Geometry → Sunflower

13.5s – 17.0s
Sunflower → Galaxy

17.0s – 20.5s
Galaxy → Black Hole

20.5s – 23.5s
Black Hole → Cosmic Tunnel / Beam

23.5s – 27.0s
Earth Rise

27.0s – 30.0s
Return to Creature

Do not treat these timings as rigid.

Adjust pacing if visual rhythm improves.

---

8. Scene 01 — Creature

Duration:

approximately 0–4 seconds.

Create a simple cute rectangular orange creature.

Characteristics:

- rounded rectangle body
- tiny legs
- minimal facial features
- slightly asymmetric hand-drawn outline
- friendly personality

Animation:

The creature walks from outside the frame toward center.

Walking should include:

- body bounce
- leg alternation
- slight body rotation
- subtle squash and stretch

Avoid robotic perfect motion.

Use easing and secondary motion.

At the end of the scene:

the creature reacts to something appearing nearby.

This reaction should initiate the transition.

---

9. Creature → Neural Transition

Do not cut.

Instead:

A small point of light appears near the character.

The point expands.

Thin branching lines begin growing from it.

The camera moves closer.

The creature becomes smaller relative to the growing network.

Eventually the neural structure fills the screen.

---

10. Scene 02 — Neural Network

Duration:

approximately 4–7.5 seconds.

Visualize something between:

neurons
electricity
branching biological structures
lightning

Use procedural branching.

Nodes should pulse.

Signals should travel through branches.

Requirements:

- animated electrical pulses
- organic branching geometry
- small particle sparks
- varying line thickness
- controlled randomness

Do not make it look like a typical machine-learning neural network diagram.

It should feel biological and energetic.

---

11. Neural → Prism Transition

Select one bright electrical branch.

Allow the branch to straighten.

Its moving energy becomes a clean beam of white light.

The rest of the neural network fades into darkness.

The white beam travels across screen.

It hits a triangular prism.

---

12. Scene 03 — Prism

Duration:

approximately 7.5–10 seconds.

Create a hand-drawn transparent triangular prism.

White light enters from one side.

The prism refracts it into:

red
orange
yellow
green
cyan
blue
violet

Do not simply draw static rainbow lines.

Animate:

- beam arrival
- prism glow
- dispersion
- slight refraction movement
- soft bloom

The spectrum should become the transition element.

---

13. Prism → Color Geometry

The rainbow beams curve.

Gradually convert them into circular arcs.

The arcs form concentric rotating rings.

Camera moves toward the center.

The prism disappears naturally.

---

14. Scene 04 — Color Rings

Duration:

approximately 10–11.5 seconds.

Create concentric colored rings.

Motion:

- slow rotation
- alternating direction
- slight breathing scale
- organic wobble

The rings should feel slightly imperfect.

Not mathematically sterile.

---

15. Rings → Sunflower

Slowly change the ring shapes.

Outer rings become individual petals.

Central circles become sunflower seeds.

Yellow becomes dominant.

The transformation should happen visibly.

Avoid fading from ring to flower.

The viewer should clearly see one geometry becoming another.

---

16. Scene 05 — Sunflower

Duration:

approximately 11.5–14 seconds.

Create a stylized procedural sunflower.

Elements:

- bright yellow petals
- warm orange center
- dark spiral seeds
- subtle stem or implied botanical form

Animate:

- petal opening
- gentle breathing
- slight rotation
- seed spiral motion

Use Fibonacci / golden-angle distribution if helpful for seeds.

---

17. Sunflower → Galaxy

This should be one of the strongest transitions.

Start rotating the sunflower center.

Petals detach.

Each petal becomes a glowing particle.

The seed structure expands outward.

Colors shift gradually:

yellow
→ orange
→ purple
→ blue

The sunflower transforms into a spiral galaxy.

Do not perform a simple crossfade.

---

18. Scene 06 — Galaxy

Duration:

approximately 14–17 seconds.

Create a procedural spiral galaxy.

Requirements:

- thousands of small particles if performance allows
- logarithmic / spiral arm distribution
- brighter core
- scattered stars
- depth illusion
- subtle camera push
- slow rotation

Particles should have varied opacity and radius.

Avoid perfectly uniform star distribution.

Use seeded random values so every run looks identical.

---

19. Galaxy → Black Hole

Increase rotation speed toward the center.

Darken the center.

Particles begin orbiting faster.

Stretch particles slightly in the tangential direction.

The central dark region expands.

Galaxy becomes an accretion disk.

---

20. Scene 07 — Black Hole

Duration:

approximately 17–20.5 seconds.

Create a stylized black hole.

Elements:

- completely dark center
- glowing accretion disk
- orange / gold inner light
- purple / blue outer glow
- curved particle trajectories

Optionally approximate gravitational lensing.

Do not worry about physically accurate general relativity.

Visual quality matters more.

Animate the camera slowly toward the event horizon.

---

21. Black Hole → Tunnel

Camera falls into the center.

The accretion disk stretches into rings.

Stars stretch into radial lines.

Create the feeling of entering a tunnel.

---

22. Scene 08 — Cosmic Tunnel

Duration:

approximately 20.5–23.5 seconds.

Build concentric glowing rings or particle rings.

Camera moves rapidly forward.

Important:

Avoid cliché hyperspace effects.

Keep the reference's illustrated style.

Toward the end:

the center becomes a bright vertical beam.

---

23. Tunnel → Earth Transition

The vertical beam expands.

Its lower edge becomes a horizon line.

Darkness underneath becomes the Moon surface.

Blue light emerges from behind the horizon.

---

24. Scene 09 — Earth Rise

Duration:

approximately 23.5–27 seconds.

Create a cinematic Earth rising behind a dark lunar horizon.

Earth should include:

- blue atmosphere
- simplified clouds
- simplified land shapes
- subtle glow

Do not use an external NASA image unless absolutely necessary.

Prefer procedural / stylized rendering.

The Moon foreground should remain mostly dark.

Use slow camera motion.

This should be one of the calmest moments.

---

25. Earth → Creature Transition

Zoom into one bright point on Earth.

The blue glow becomes a small circular light.

The light shrinks.

Background transitions back to cream.

The light lands near the original creature.

Camera pulls back.

---

26. Final Scene

Return to the orange creature.

The creature looks at the small glowing object.

Possible reactions:

- blink
- smile
- tiny bounce
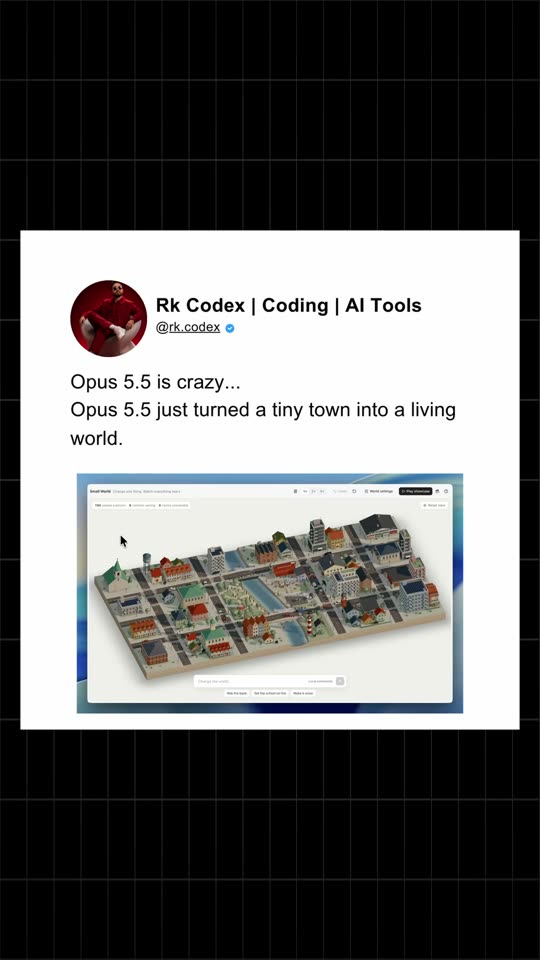
Slide 5 · Open the site
A tiny town you can orbit, with weather and time of day.
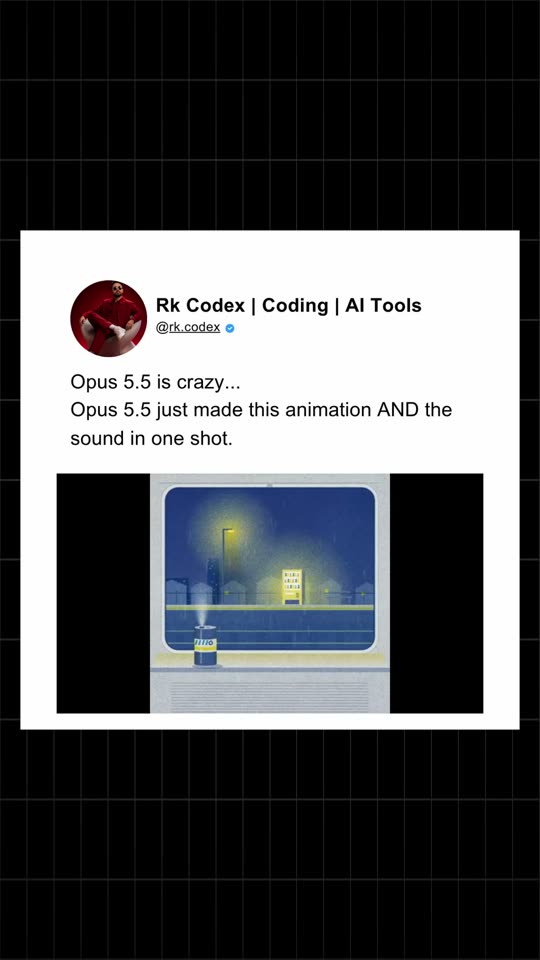
Slide 6 · Open the repo
The night-window animation, picture and sound together.
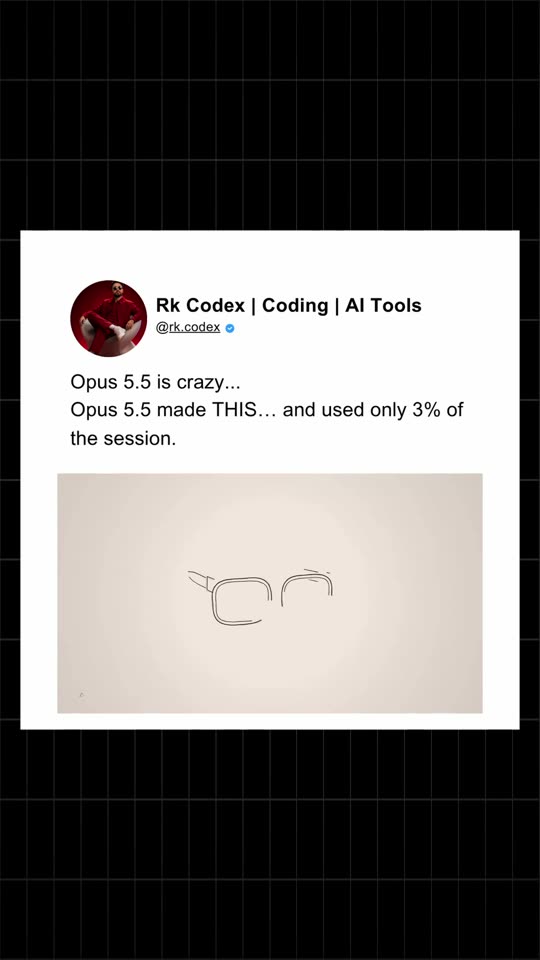
Slide 7 · Copy a prompt
A short fill-in template, then the full AR glasses prompt used for this shot.
I want you to create a [your topic] explainer video in [style] through a [story arc type].
[describe your main character]
[describe what the character should do, eg kill enemies, score points etc]
[describe animations and videography, eg zooms, infographics etc]
Use sound effects and music.
Make the video impressive and engaging.
Use OpenAI TTS for narration
Length: [sub 1 minute]
Resolution and ratio: [16:9]
Use hyperframes skill
Analyze the provided reference video first, then create a new 30-second AR glasses product-launch video using its editing style.
Match the reference video’s:
- Pacing and cut frequency
- Camera movement and zooms
- Transitions
- Typography animation
- Color palette
- Product-reveal rhythm
- Sound-design intensity
Do not add a main character, mascot, presenter, avatar, or storyline. The AR glasses must remain the only hero.

Show cinematic macro shots of the glasses:
- Front and side profiles
- Lens reflections
- Frame material
- Nose bridge
- Hinges
- Full product silhouette
Combine premium product cinematography with the reference video’s hand-drawn canvas effects, ink lines, paper texture, sketch annotations, and energetic transitions. Keep the product geometry consistent in every shot.
Show minimal AR overlays for:
- Translation
- Navigation
- Object recognition
- Notes and reminders
- Creative and technical work
Use clean, readable interface graphics. Avoid generic cyberpunk visuals, excessive blue holograms, cluttered HUDs, and fake unreadable text.
Include concise on-screen claims about the connected Opus 5.5 experience:
“1M TOKEN CONTEXT”
“30%+ FASTER OUTPUT”
“40% LOWER TYPICAL RUNNING COST”
Add a small disclaimer:
“AI capability claims refer to the connected Opus 5.5 model, not the glasses hardware.”
End with a dramatic hero shot of the glasses and:
AR video

“INTELLIGENCE, IN YOUR LINE OF SIGHT.”
“COMING SOON”
Format: 16:9, high resolution, maximum 30 seconds, optimized H.264 MP4 with a small file size.
Negative prompt: no characters, no mascot, no presenter, no Clawd, no fake logos, no unlicensed Claude or Anthropic branding, no distorted glasses, no extra lenses, no changing product design, no unreadable text, no unsupported claims, no excessive neon, no generic sci-fi styling.
Slide 8 · Copy the prompt
Paste a real site URL. The prompt pulls the brand, then builds a 30-second explainer.
I'll give you a website URL: [insert your url /idea /]
Fetch it and study it like a conversion strategist, not a scraper. Pull the real assets and facts: the product name, logo, exact brand colors (hex), fonts, hero headline, the core value proposition, the top 2–3 benefits, any hard numbers or social proof (users, ratings, funding, "trusted by" logos, stats), and the primary call-to-action. If a claim isn't on the site, don't invent it.
Then build me an "Introducing [Product]" explainer video in a clean hand-drawn motion-graphics style — kinetic typography, charts and UI that build on screen, fast cuts, zooms, smooth transitions, all going all out but tasteful. Match the site's real branding (font, logo, colors) so it feels like an official asset, not a template.
Structure it around UX and selling psychology, not just visuals. Follow a tension → evidence → payoff arc, and deliberately deploy these:

Hook in the first 2 seconds — open on the problem/pain the visitor feels, not on the product. Curiosity gap or a bold claim to stop the scroll.

Problem → agitation → solution — make them feel the friction before the product resolves it.

One core message — pick the single strongest value prop and make everything serve it. Don't list features; sell the outcome.

Social proof — surface real numbers, ratings, or trust logos as an animated beat (herd effect / authority).

Von Restorff effect — make the one stat that matters visually dominant: isolate it, zoom, hold.

Loss aversion / scarcity — frame the status quo as the thing they lose by not switching, only if the site supports it.

Cognitive ease — short lines, one idea per cut, plenty of whitespace, readable at a glance.

Peak–end rule — engineer one memorable peak moment mid-film, and end on the strongest emotional/visual note.

Clear single CTA — close on the site's actual call-to-action, unmissable, with a reason to act now.

Plan it first: give me a shot-by-shot storyboard with the exact on-screen copy, the psychology principle each beat is using, and the timing. Then draft and render.
Specs: 16:9, high res, 30 seconds max, and keep the file size as small as you reasonably can. Give me an MP4. No skills, no MCP.
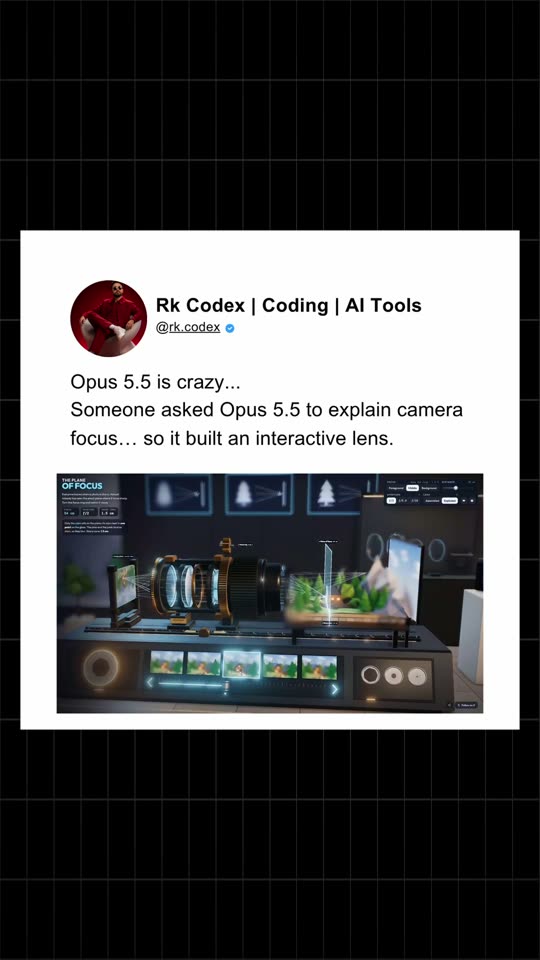
Slide 9 · Open the site
An interactive lens that shows how camera focus works.
Came here from the Reel?
Sites open in a new tab. Prompts stay on this page so you can paste them into Claude.